Get Started with QC Easy: Posting Your First Inspection
Register and Login
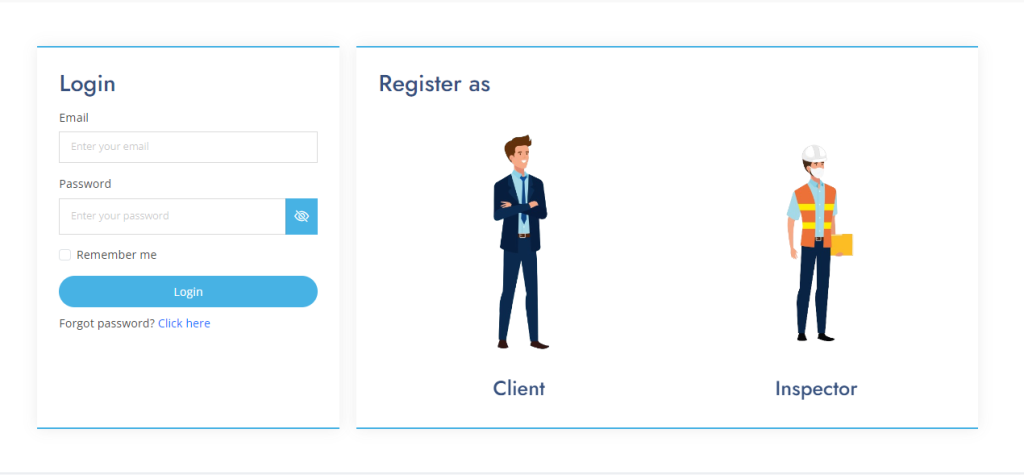
Step 1: Go to the Login and click “Client””
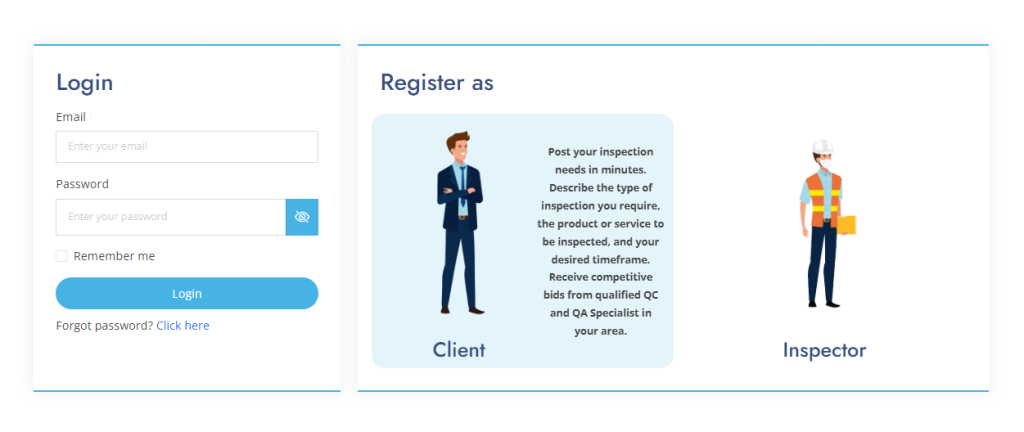
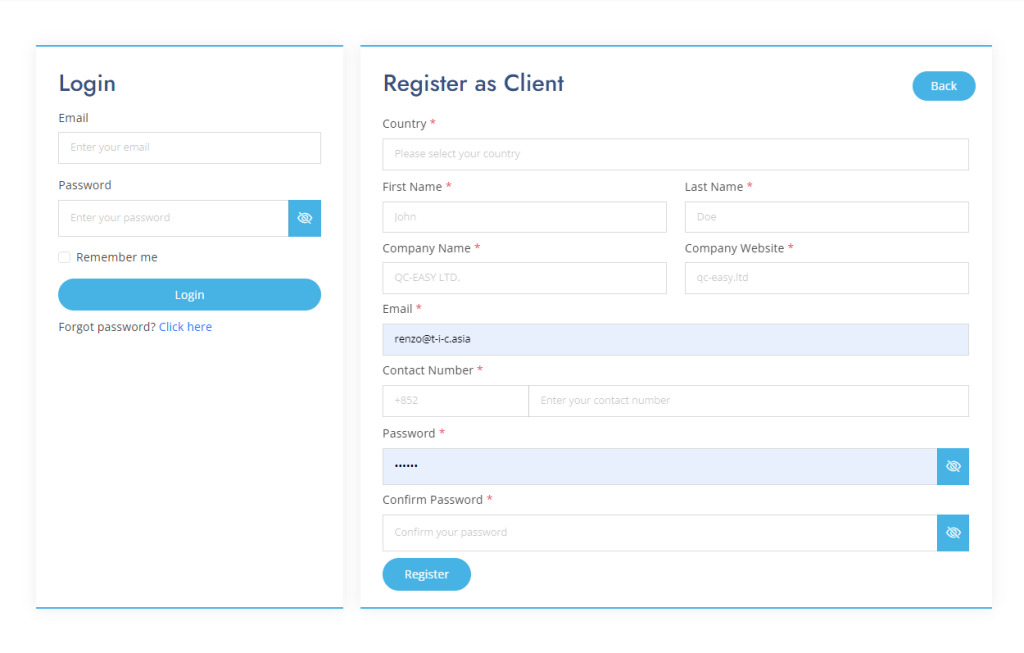
Step 2: Register as an Inspector and fill in the information needed
Step 3: Log in using your Email and Password
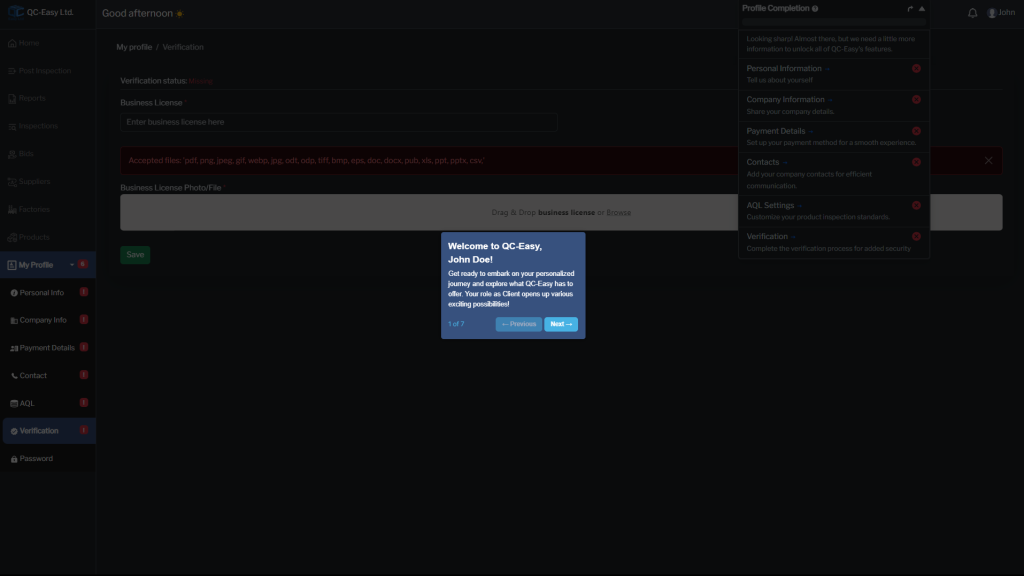
Complete Profile and Verification
Welcome to QC-Easy:
Get ready to embark on your personalized journey and explore what QC-Easy has to offer. Your role as Inspector opens up various exciting possibilities!
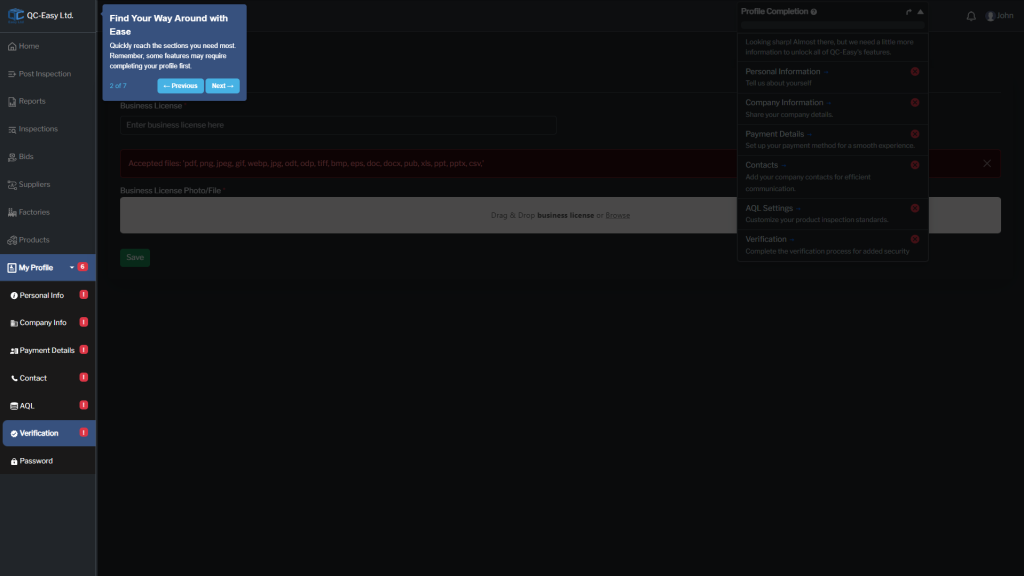
Find Your Way Around with Ease:
Quickly reach the sections you need most. Remember, some features may require completing your profile first.
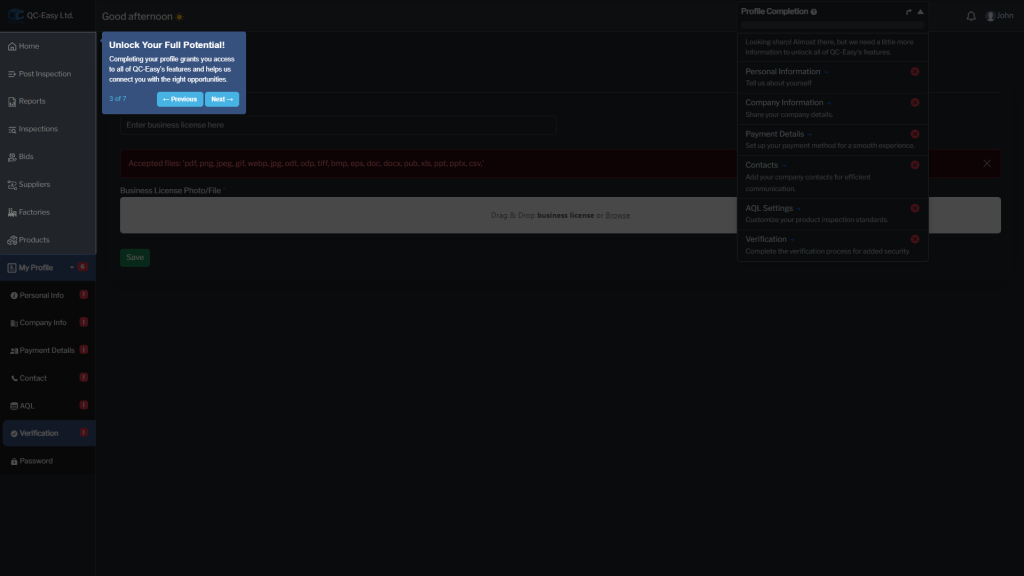
Unlock Your Full Potential:
Completing your profile grants you access to all of QC-Easy’s features and helps us connect you with the right opportunities.
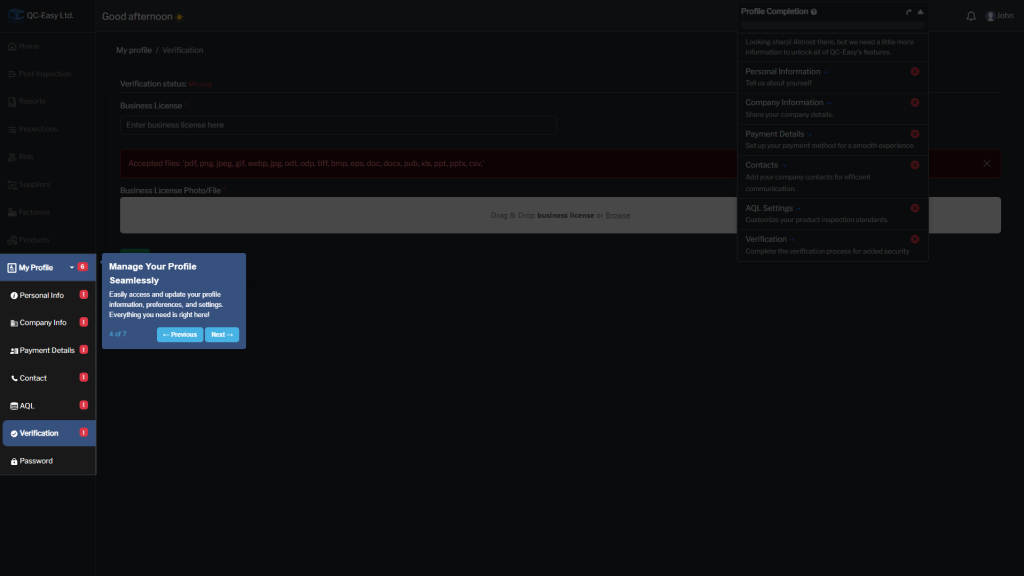
Manage Your Profile Seamlessly:
Easily access and update your profile information, preferences, and settings. Everything you need is right here!
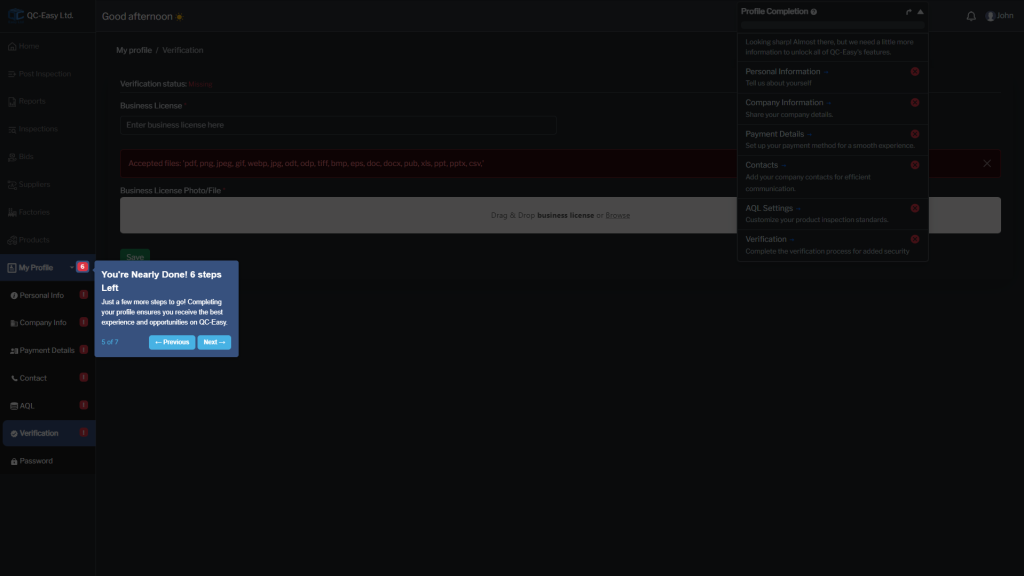
You’re Nearly Done! 6 steps Left:
Just a few more steps to go! Completing your profile ensures you receive the best experience and opportunities on QC-Easy.
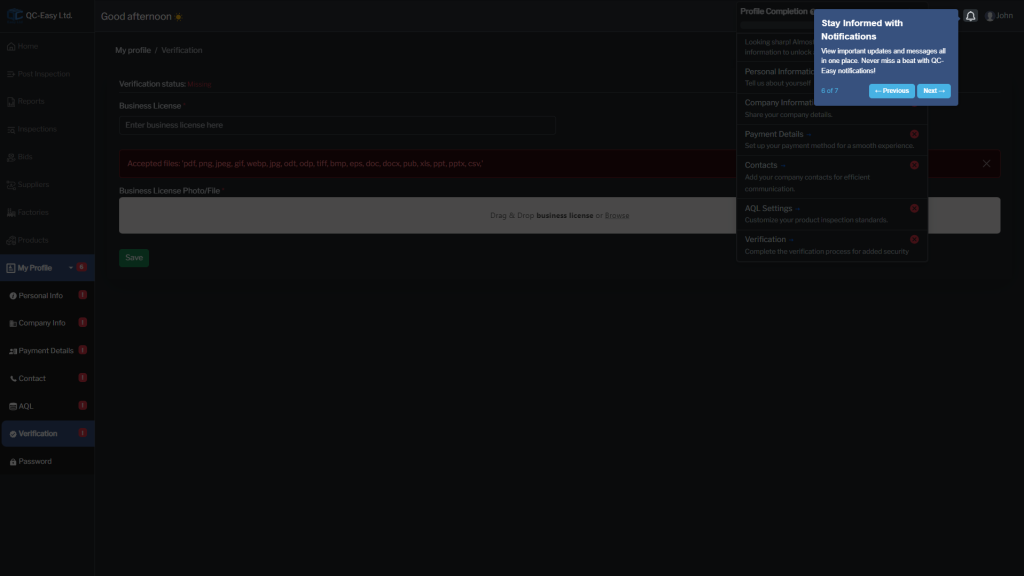
Stay Informed with Notifications:
View important updates and messages all in one place. Never miss a beat with QC-Easy notifications!
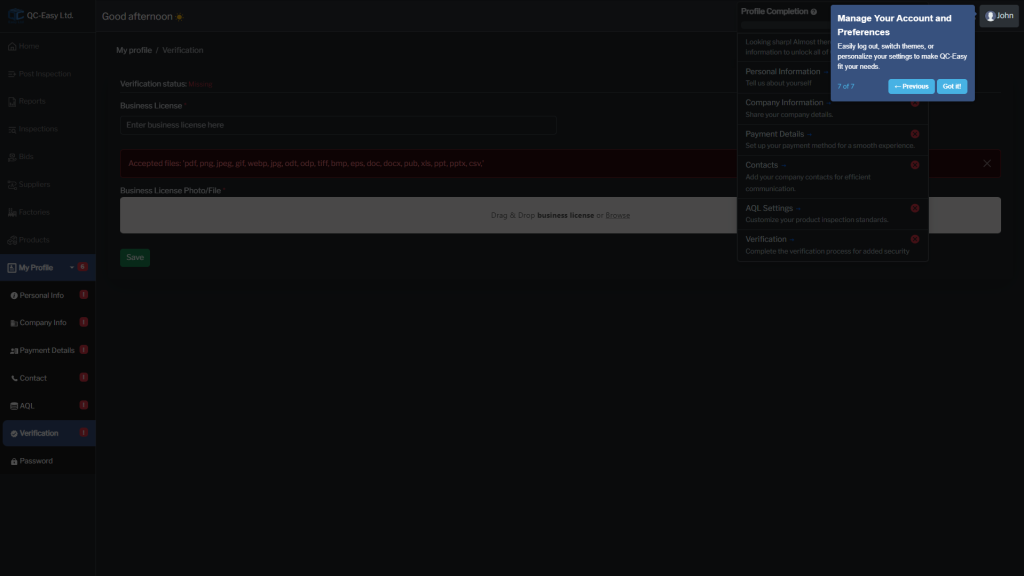
Manage Your Account and Preferences:
Easily log out, switch themes, or personalize your settings to make QC-Easy fit your needs.
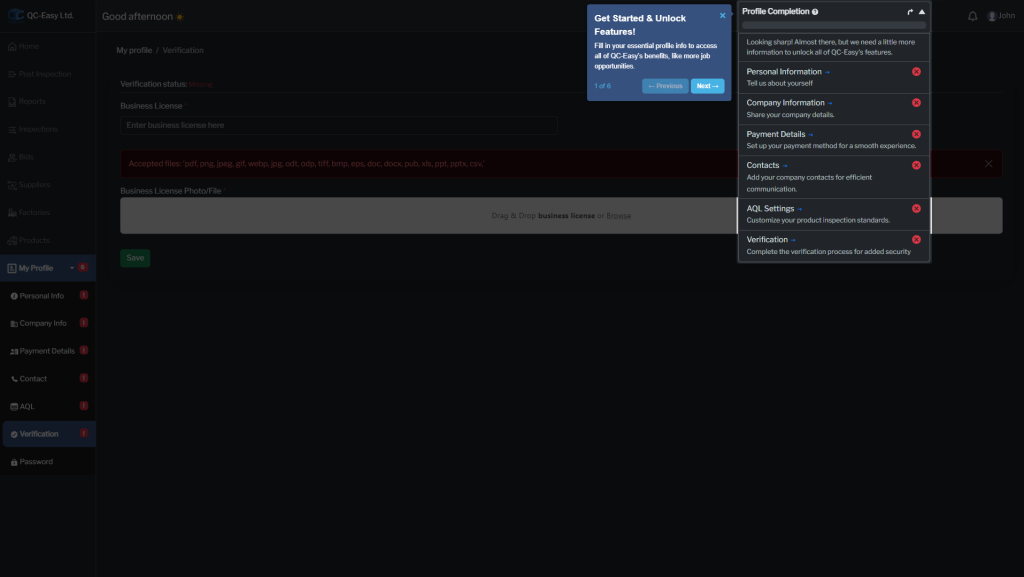
Get Started & Unlock Features:
Fill in your essential profile info to access all of QC-Easy’s benefits, like more job opportunities.
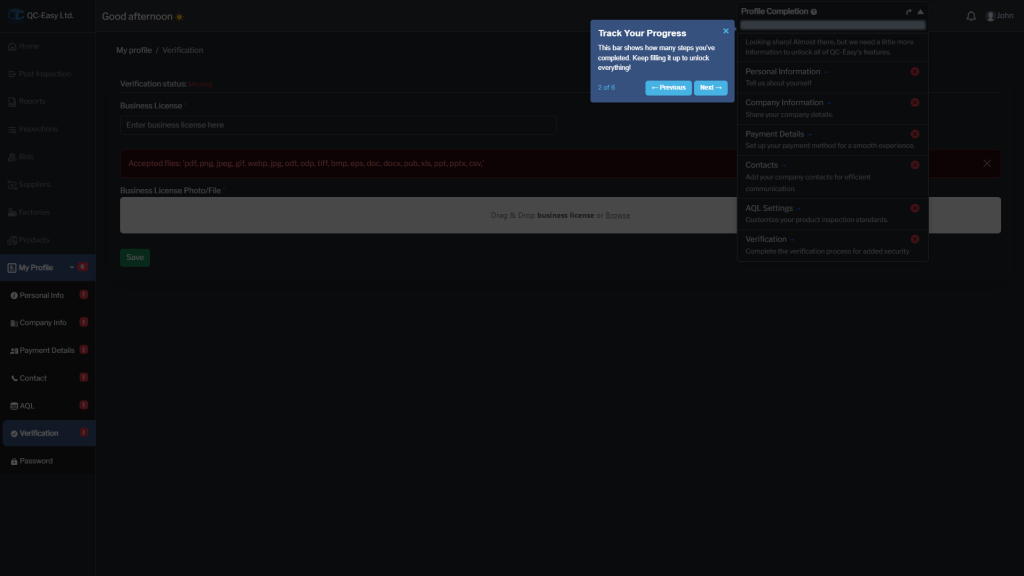
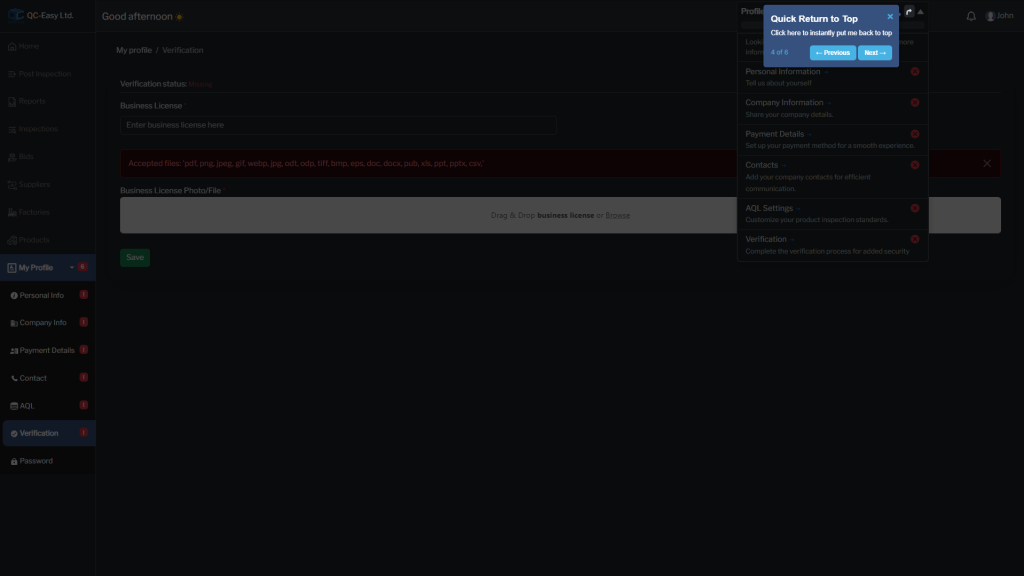
Track Your Progress:
This bar shows how many steps you’ve completed. Keep filling it up to unlock everything!
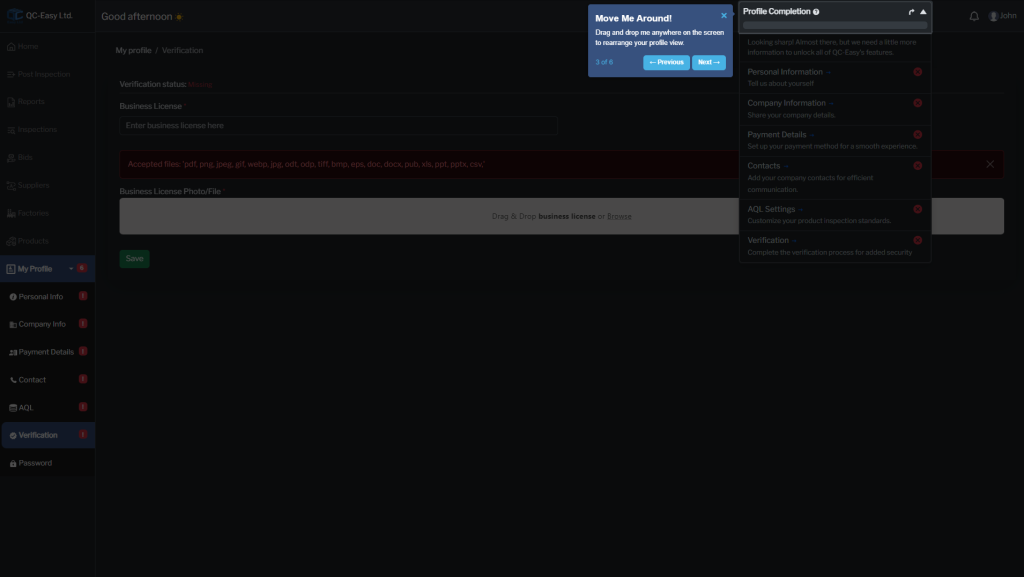
Move Me Around!
Drag and drop me anywhere on the screen to rearrange your profile view.
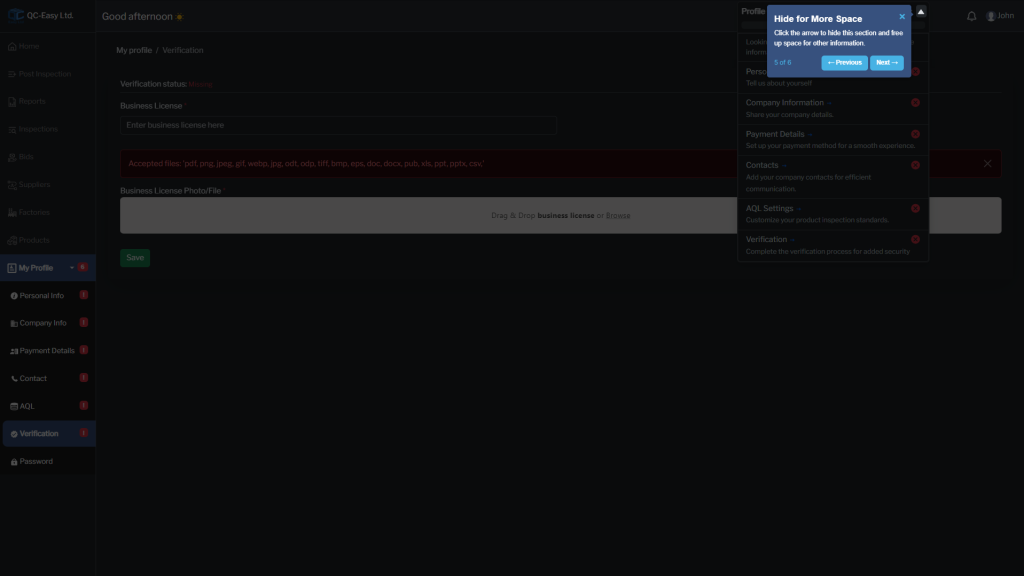
Hide for More Space:
Click the arrow to hide this section and free up space for other information.
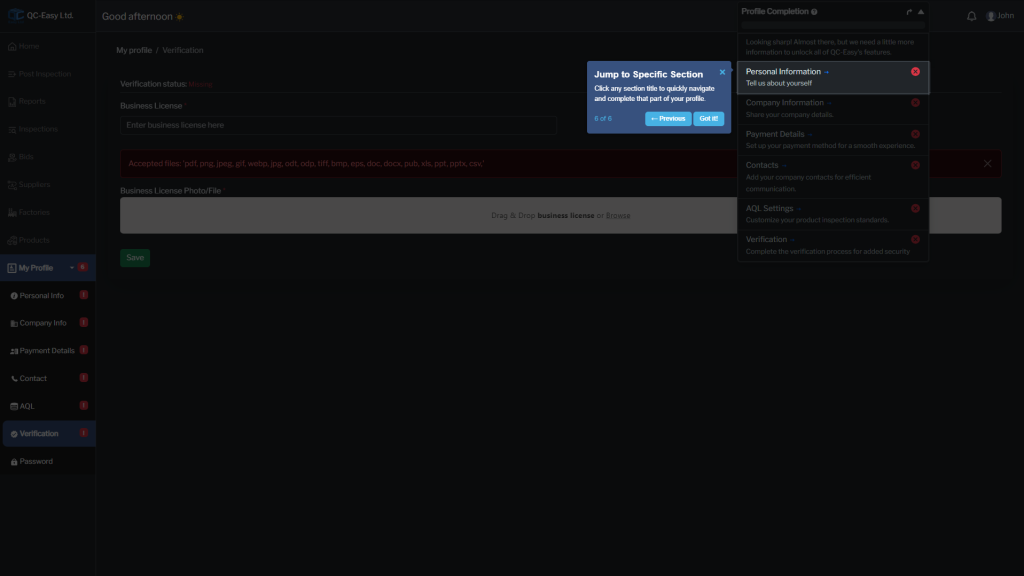
Jump to Specific Section:
Click any section title to quickly navigate and complete that part of your profile.
Once you're login you will be able now to see and access all the features from the dashboard.
Home
Here you can see your posted inspections.
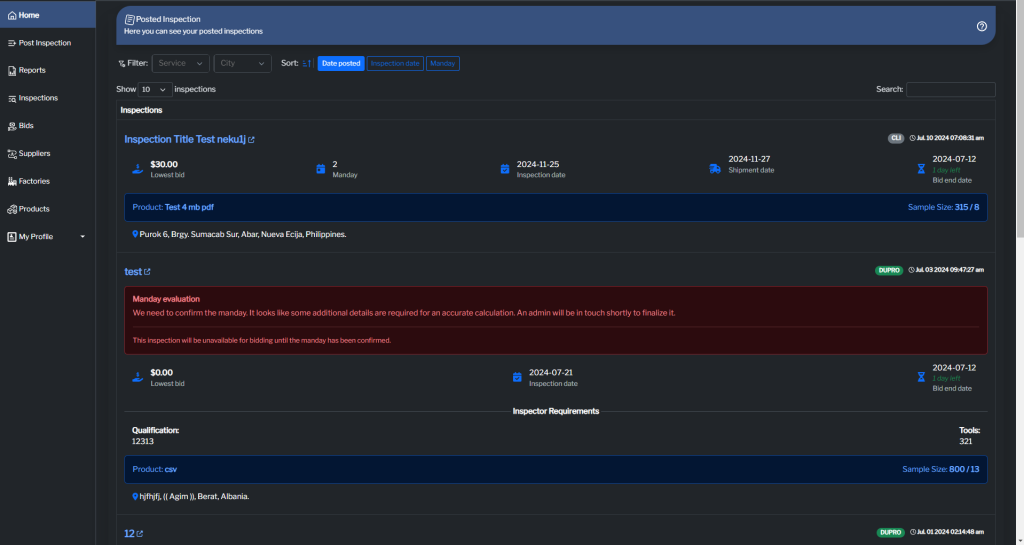
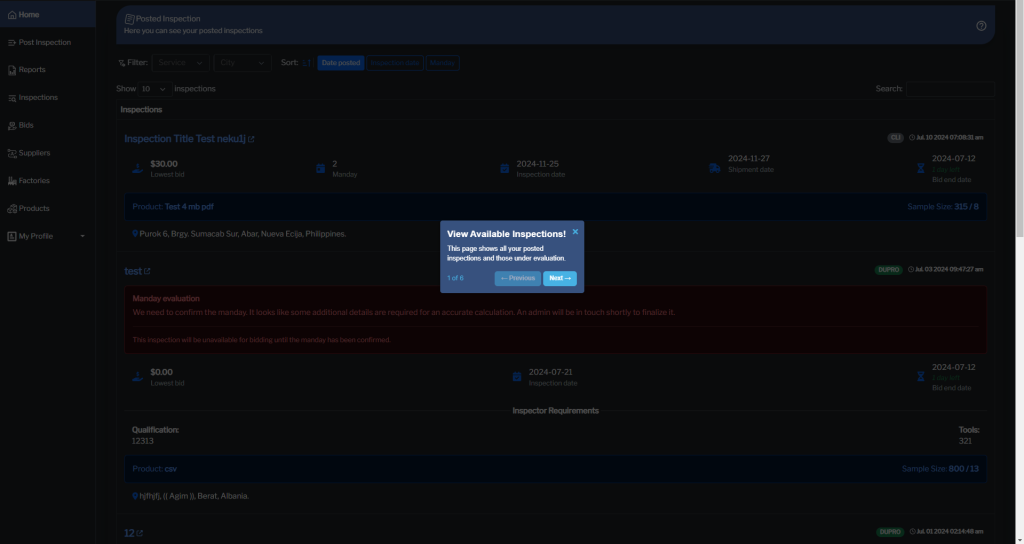
Step 1: View Available Inspections
This page shows all your posted inspections and those under evaluation.
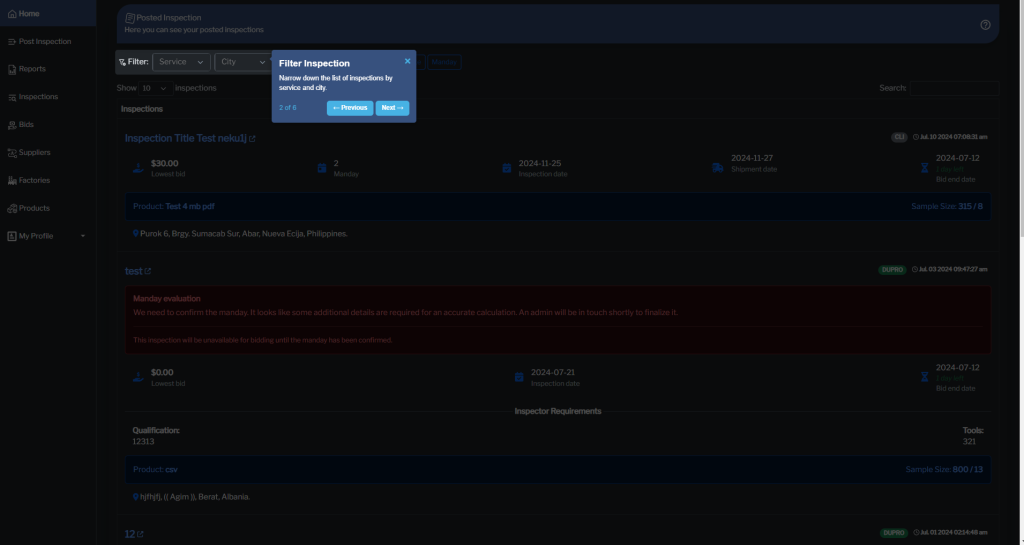
Step 2: Filter Inspection
Narrow down the list of inspections by service and city.
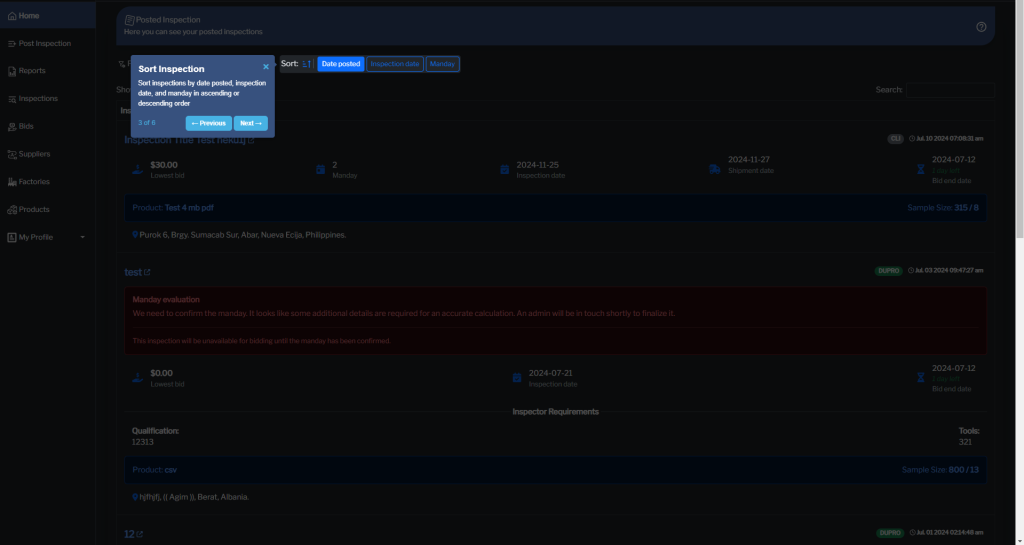
Step 3: Sort Inspection
Sort inspections by date posted, inspection date, and manday in ascending or descending order.
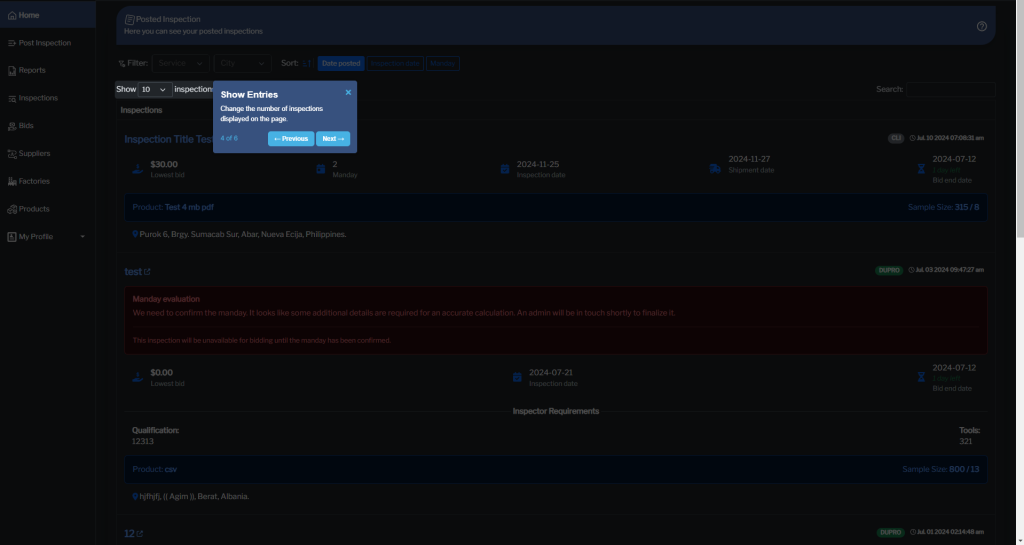
Step 4: Show Entries
Change the number of inspections displayed on the page.
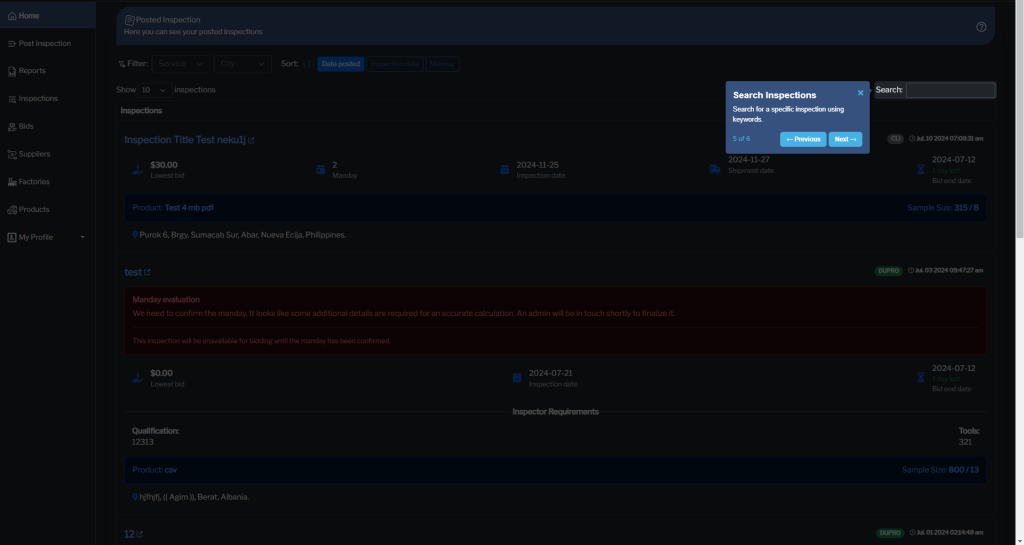
Step 5: Show Entries
Search for a specific inspection using keywords.
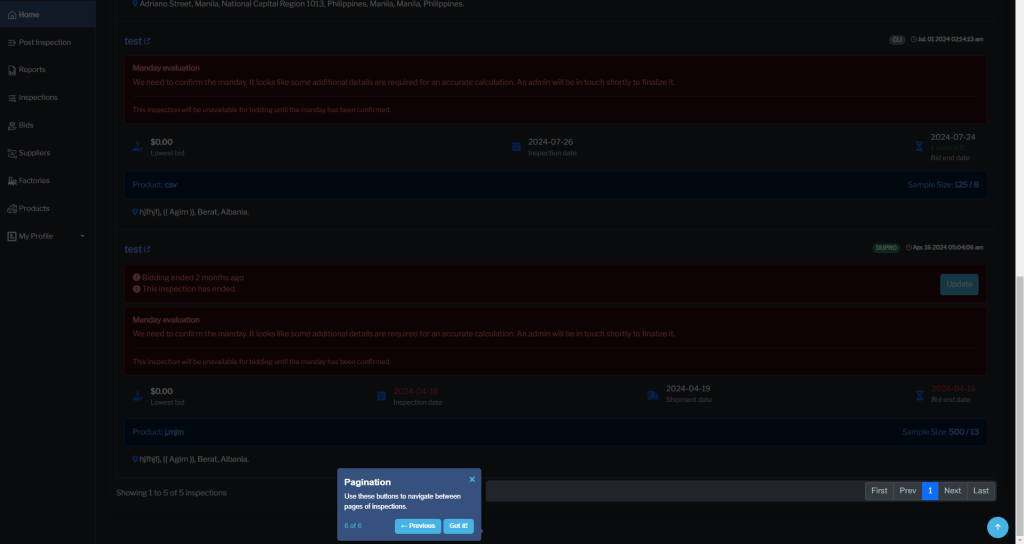
Step 6: Pagination
Use these buttons to navigate between pages of inspections.
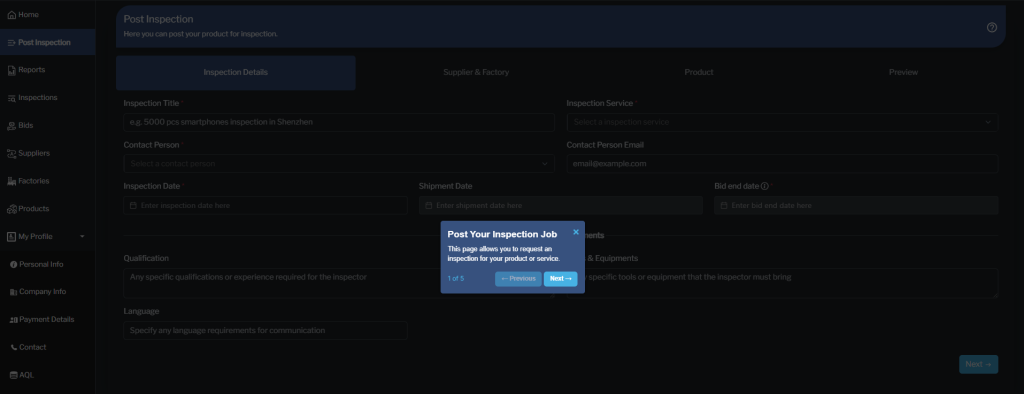
Post Inspection
Here you can post your product for inspection.
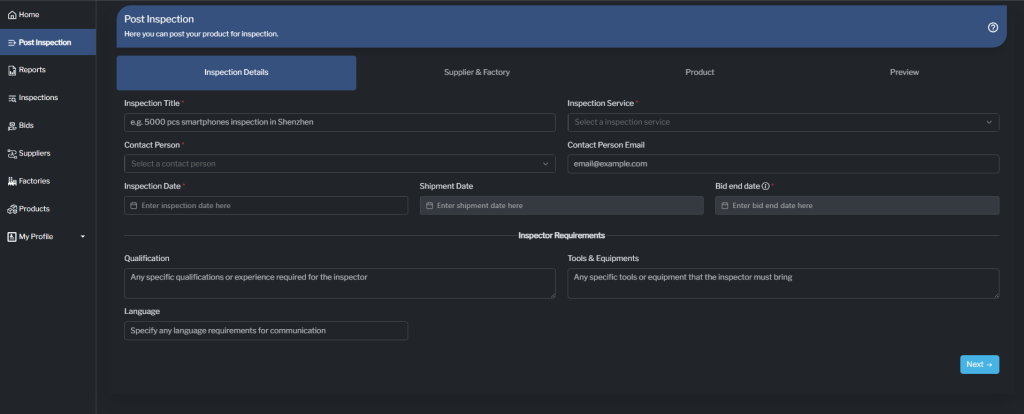
Step 1: Post Your Inspection Job
This page allows you to request an inspection for your product or service.
Step 2: Inspection Steps
Complete each step in order to submit your inspection request.

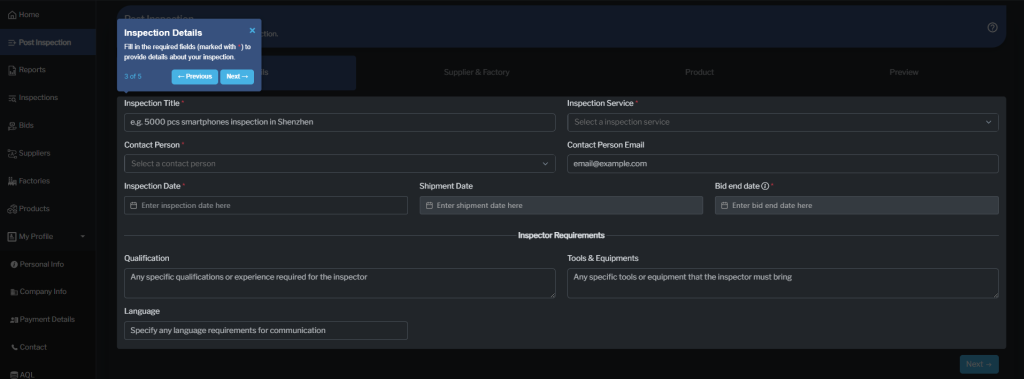
Step 3: Inspection Details
Fill in the required fields (marked with *) to provide details about your inspection
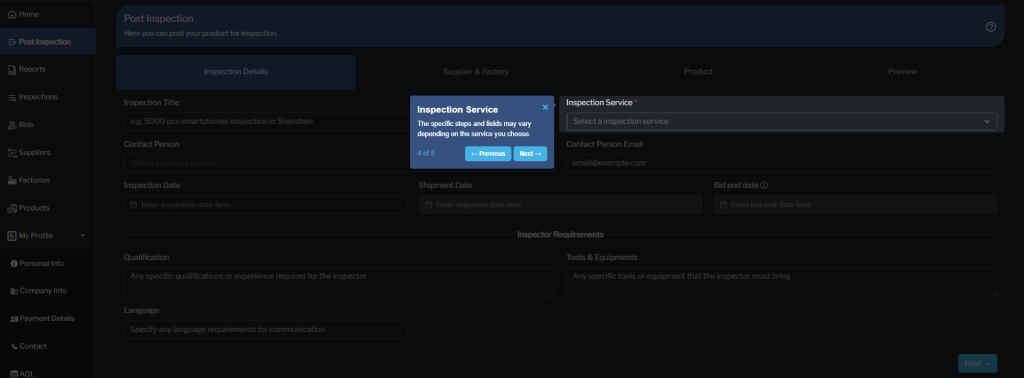
Step 4: Inspection Service
The specific steps and fields may vary depending on the service you choose.
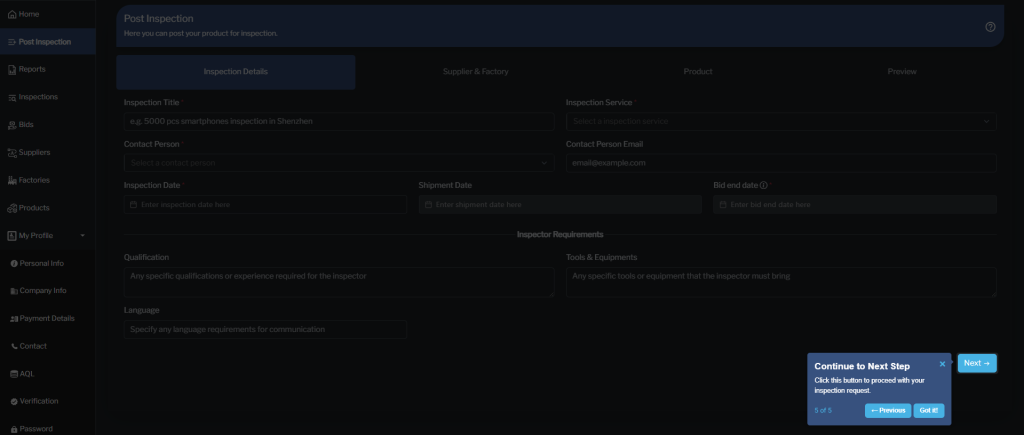
Step 5: Continue to Next Step
Click the “Next” button to proceed with your inspection request.
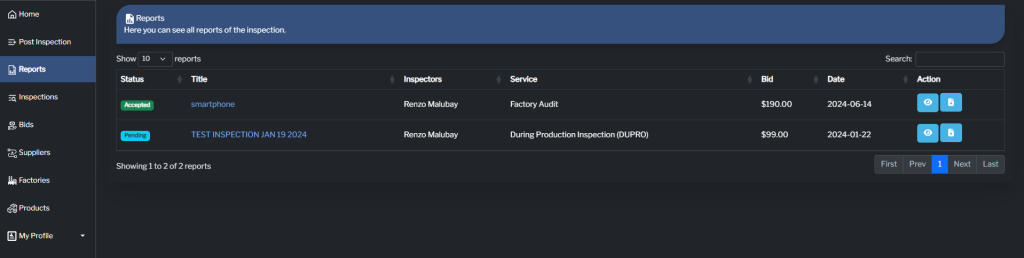
Reports
Here you can see all reports of the inspection.
- Status: Accepted/Pending/Rejected
- Title: Title of the Inspection
- Inspectors: Name of the Inspector/s
- Service: Type of Service for Inspection
- Bid: Amount of Bid
- Inspection Date: Date of Inspection
- Action: View/Download Report
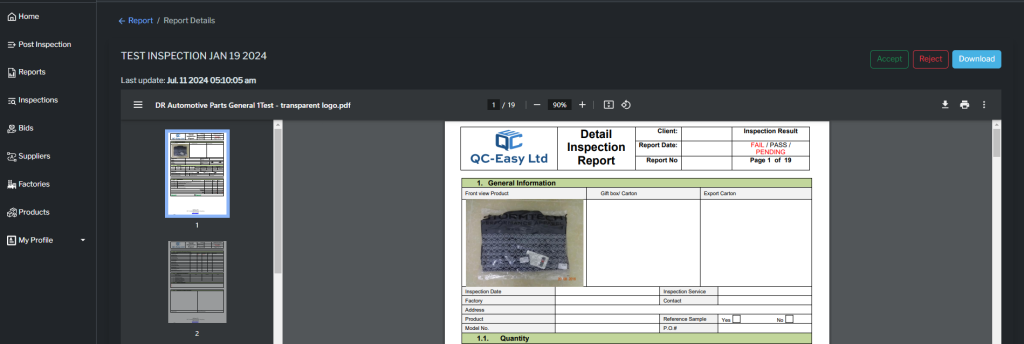
View Report: Accept/Reject and Download
Here you can view the report submitted by the inspector, decide to accept or reject it, and download the report.
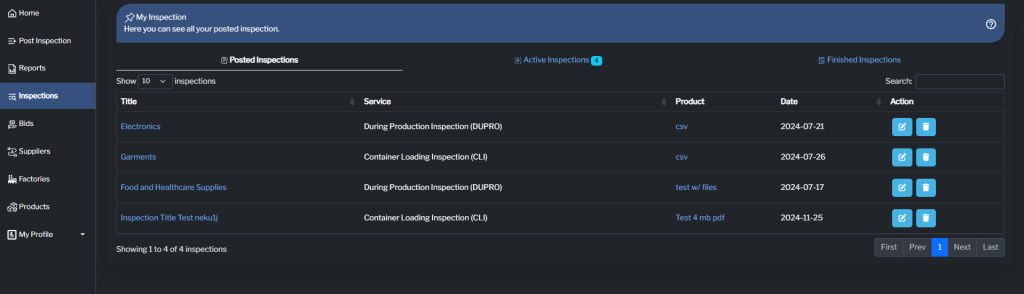
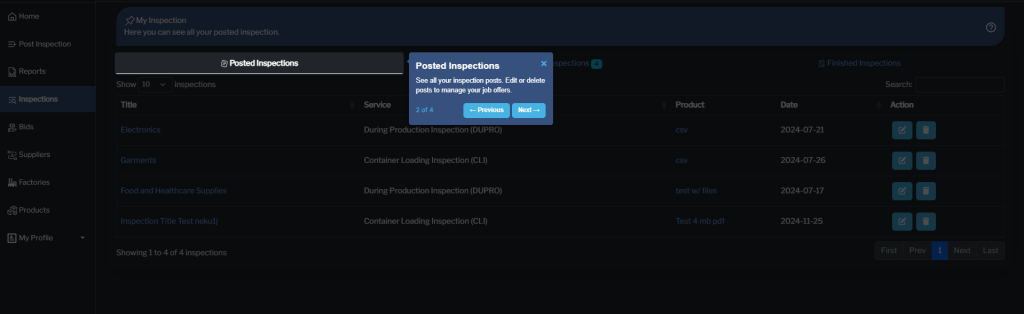
Inspections
Here you can see all your posted inspections.
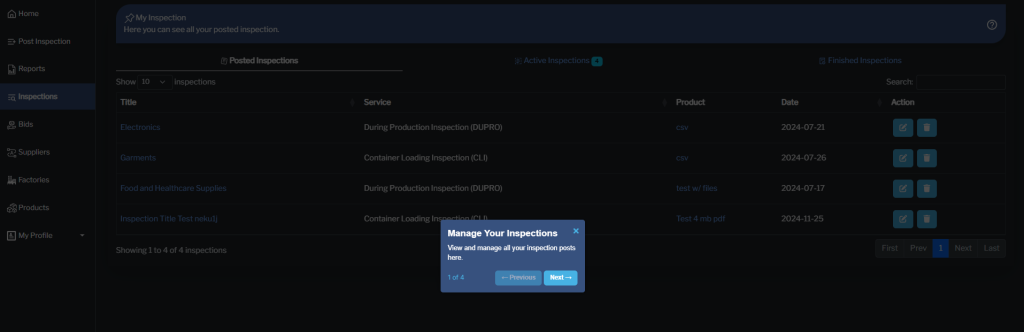
Step 1: Manage Your Inspections
View and manage all your inspection posts here.
Step 2: Posted Inspections
See all your inspection posts. Edit or delete posts to manage your job offers.
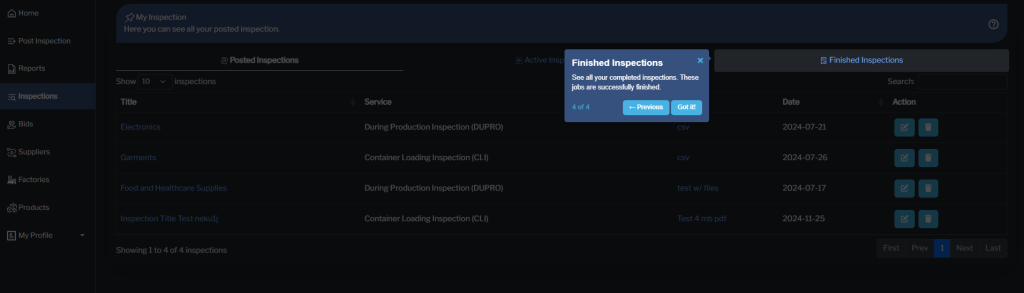
Step 3: Active Inspections
View inspections where you’ve hired an inspector. These jobs are in progress.

Step 4: Finished Inspections
See all your completed inspections. These jobs are successfully finished.
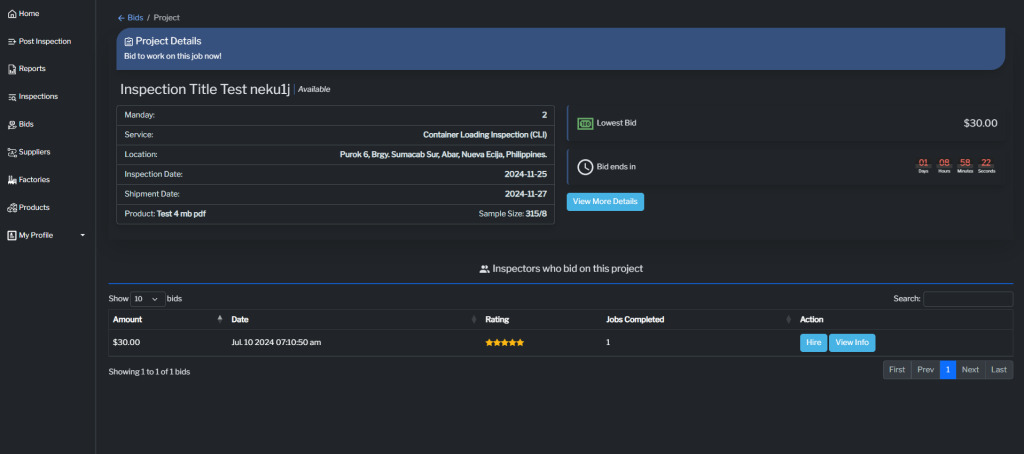
Bids
Here you can see all Bids for your post.

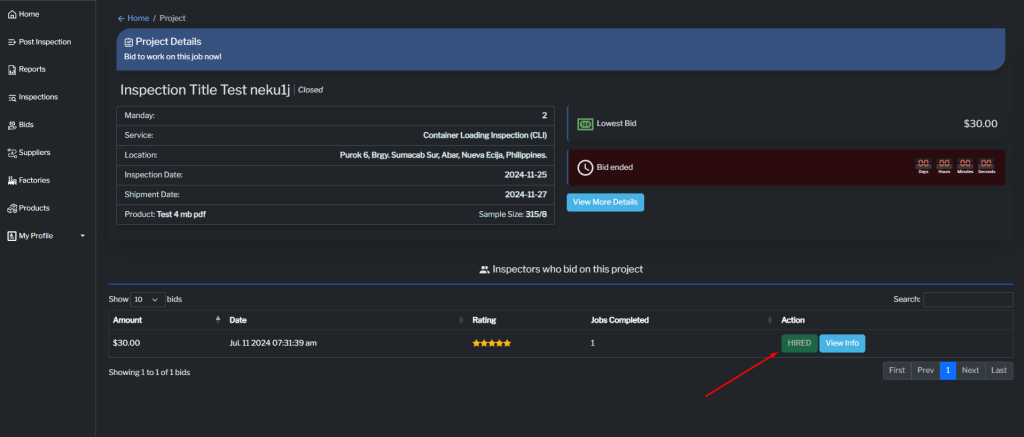
Step 1: Project Details
Click the “Inspection Title” to see more information about the Project Details. Bid to work on this job now!
- Lowest Bid: Total amount of bid for the Inspection
- Bids ends in: Total amount of time remaining before the bids ends
- View More Details: Click this button to view additional information about the Inspection
- Hire: Client will click this button if he decided to hire the inspector for his posted inspection
- View Info: Click this button to view more information about the Inspector
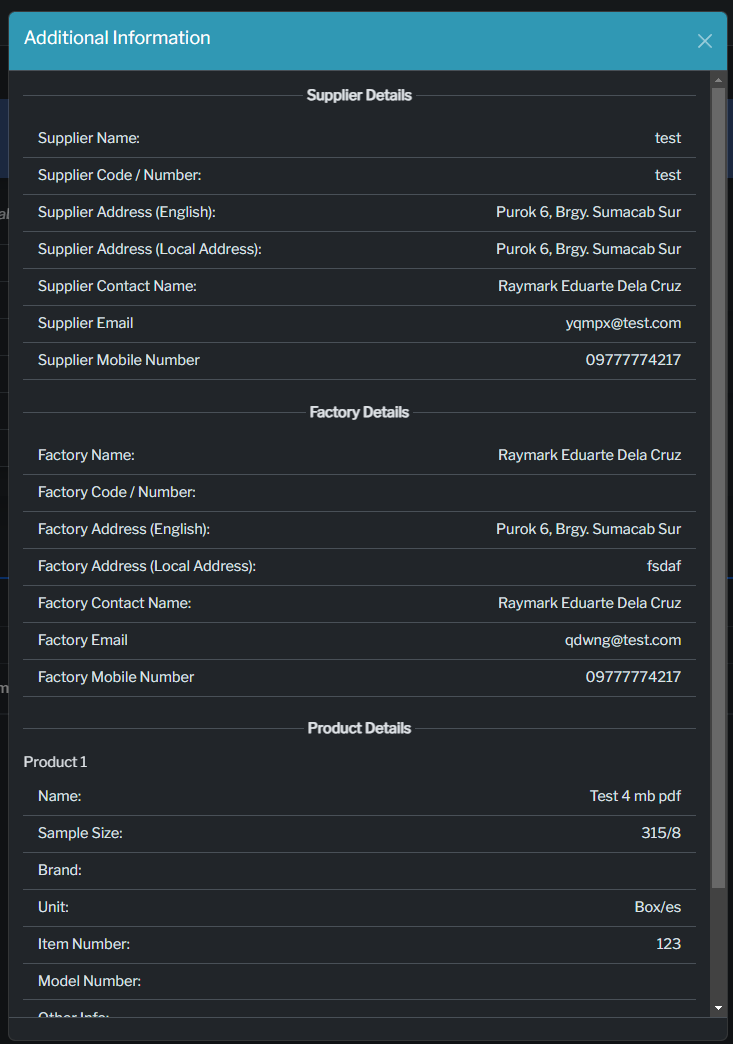
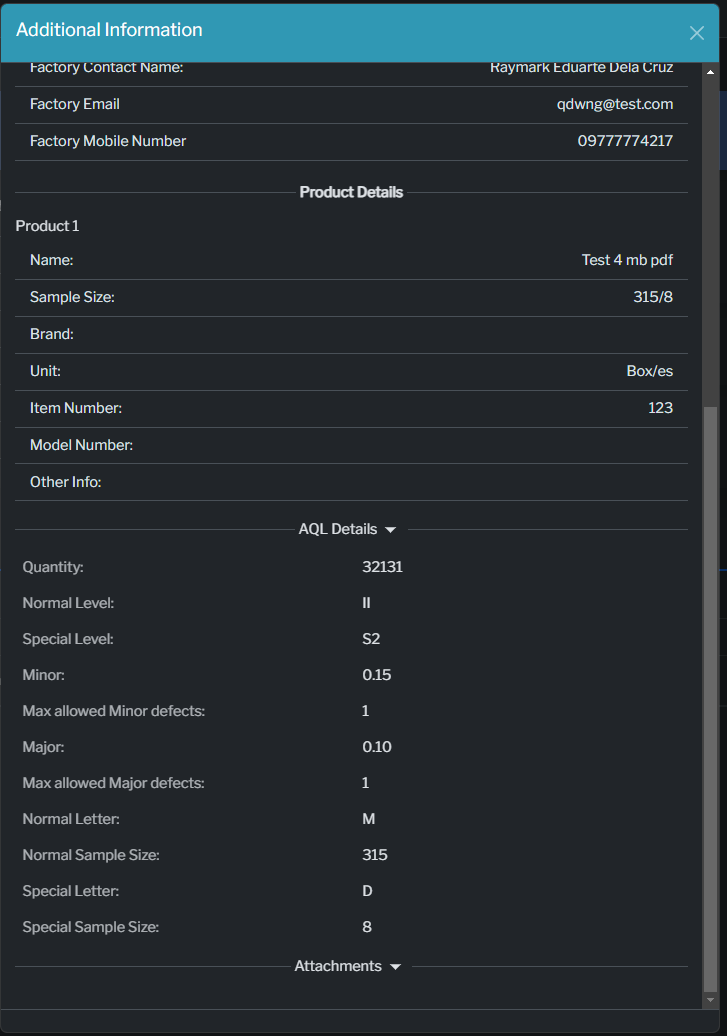
Step 2: View More Details
Click the “View More Details” button to see Additional Information about the Inspection

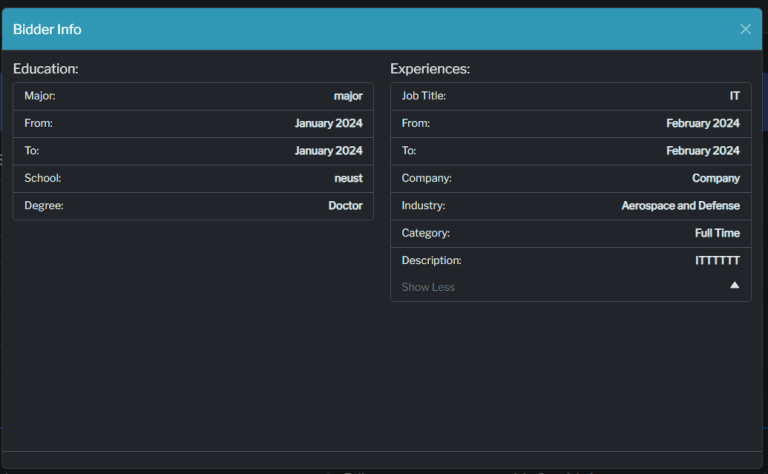
Step 3: Bidder Info
Click the “View Info” button under the Action Section to see additional information about the bidder of your posted inspection.
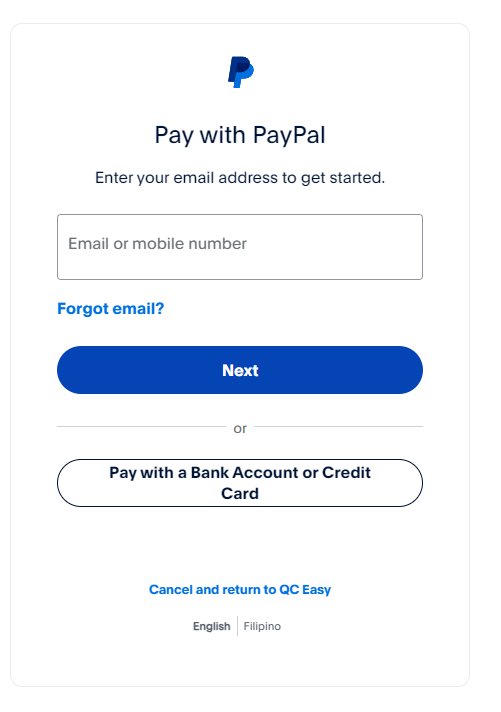
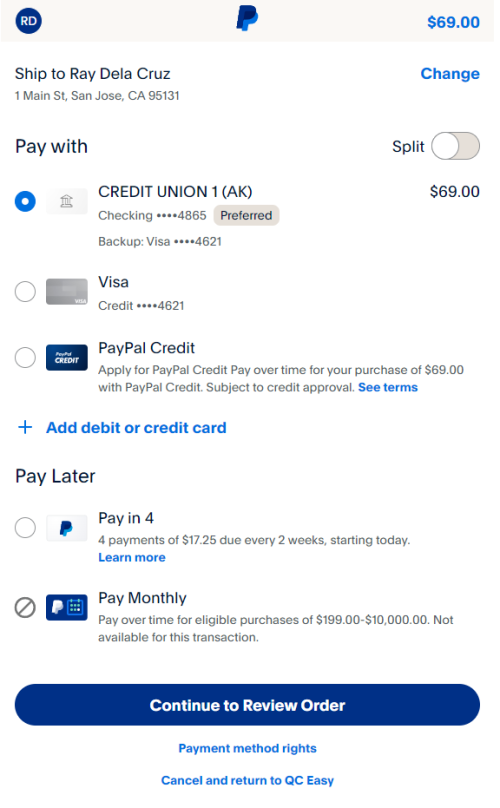
Step 3: Bid Payment
After reviewing the inspector’s bid, click the hire button to be redirected to QCE’s accredited payment platform PayPal or Credit Card.
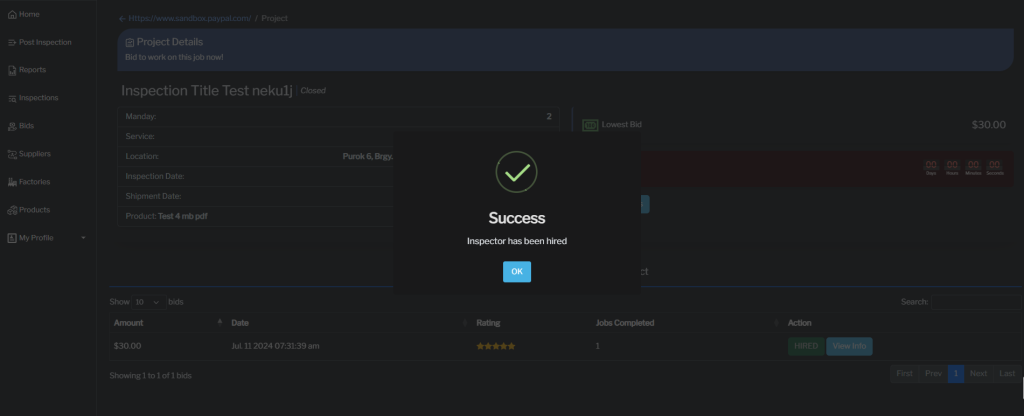
Step 3.2: Success! Inspector has been hired
Payment successful! Your inspector has been hired and is ready to start the inspection.
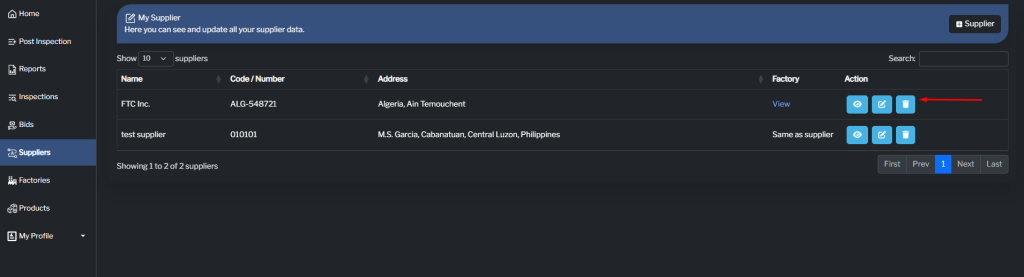
Supplier
Here you can see and update all your supplier data.
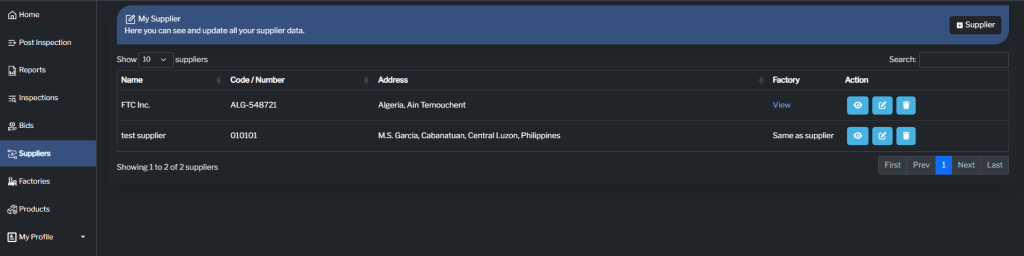
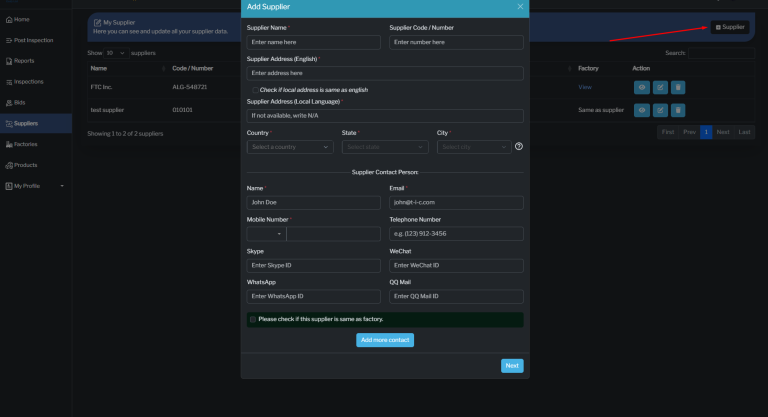
Step 1: Add Supplier
Click the “Add Supplier” button to include a new supplier for your inspection.
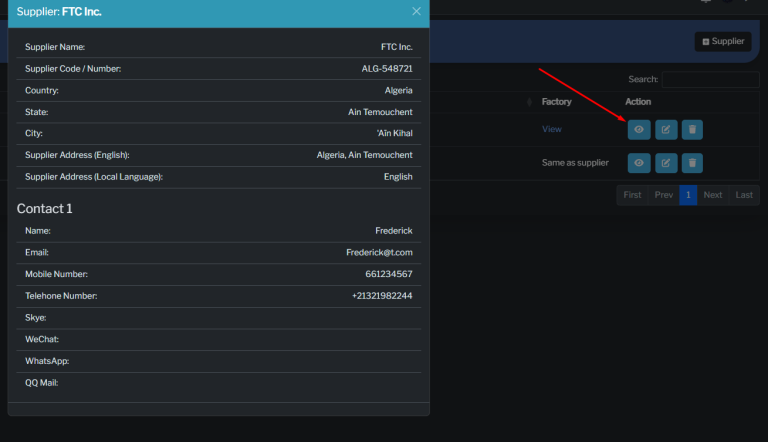
Step 1: View Supplier
Click the “View” button to see detailed information about the supplier.
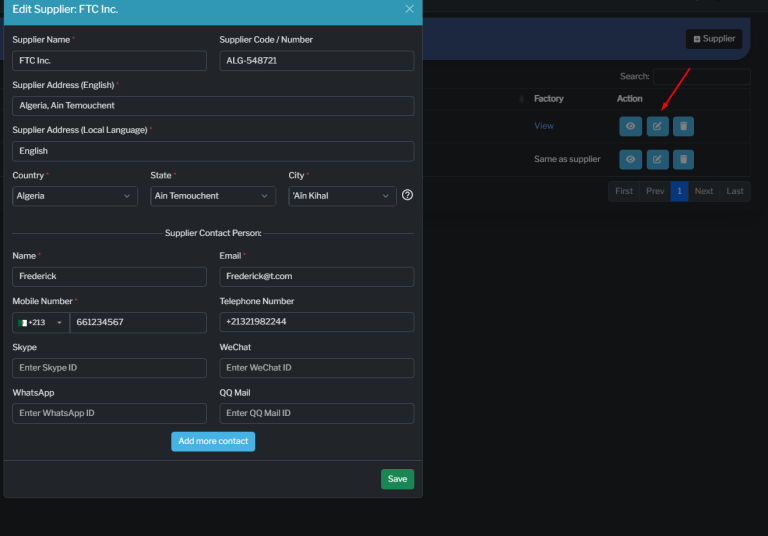
Step 3: Edit Supplier
Click the “Edit” button to modify the supplier’s details.
Step 4: Remove Supplier
Click the “Remove” button to remove the supplier from your list.
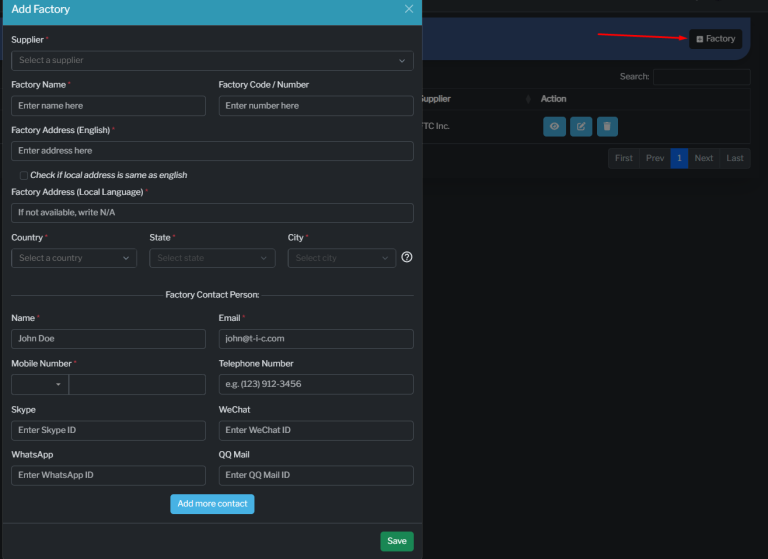
Factory
Here you can see and update all your factory data.
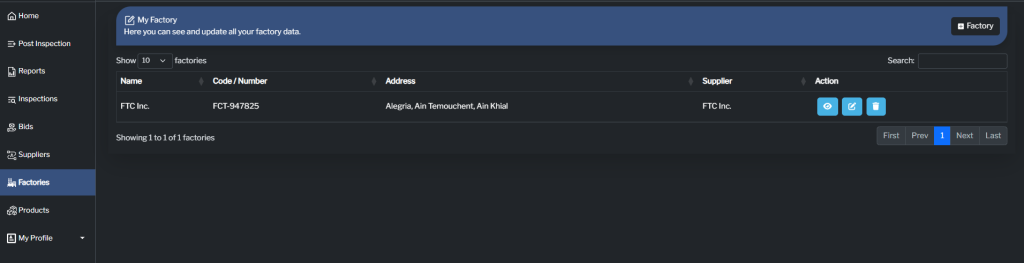
Step 1: Add Factory
Click the “Add Factory” button to include a new factory for your inspection.
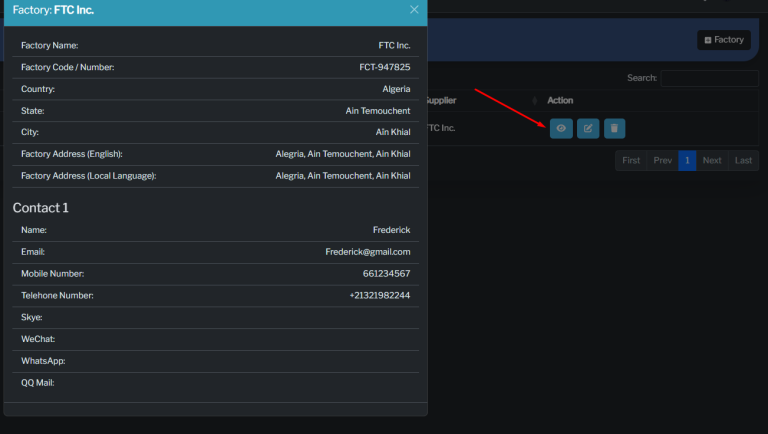
Step 2: View Factory
Click the “View” button to see detailed information about the factory.
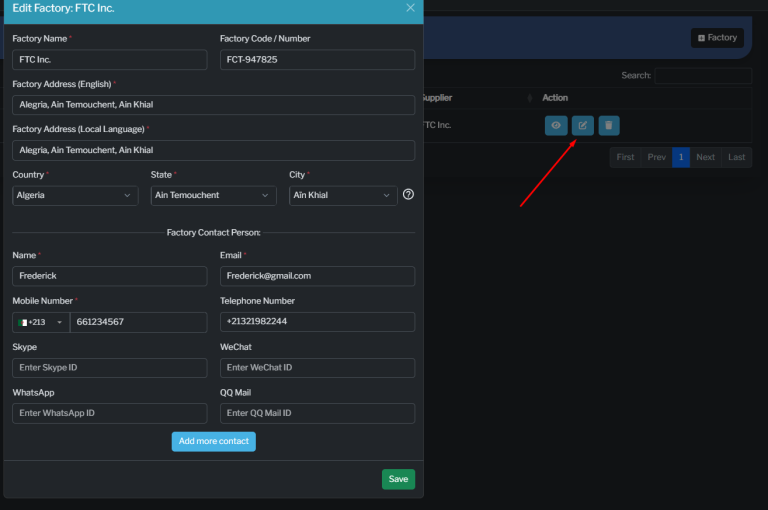
Step 3: Edit Factory
Click the “Edit” button to modify the factory’s details.
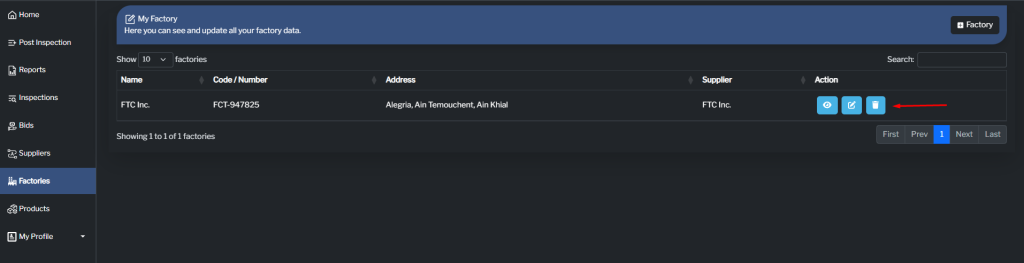
Step 4: Remove Factory
Click the “Remove” button to remove the factory from your list.
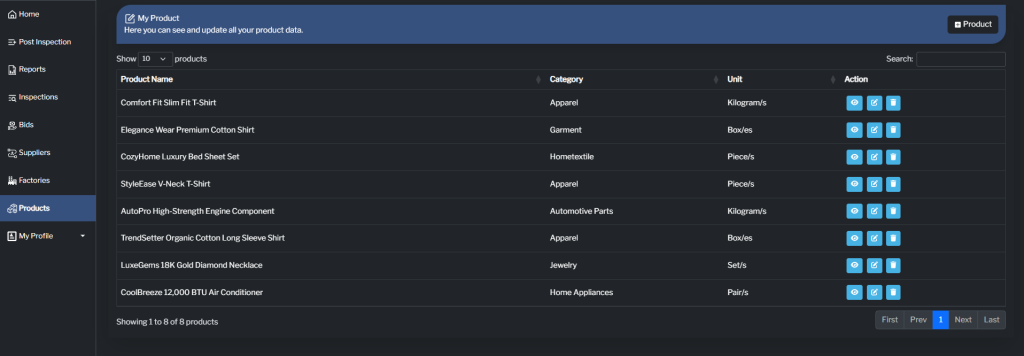
Factory
Here you can see and update all your Products data.
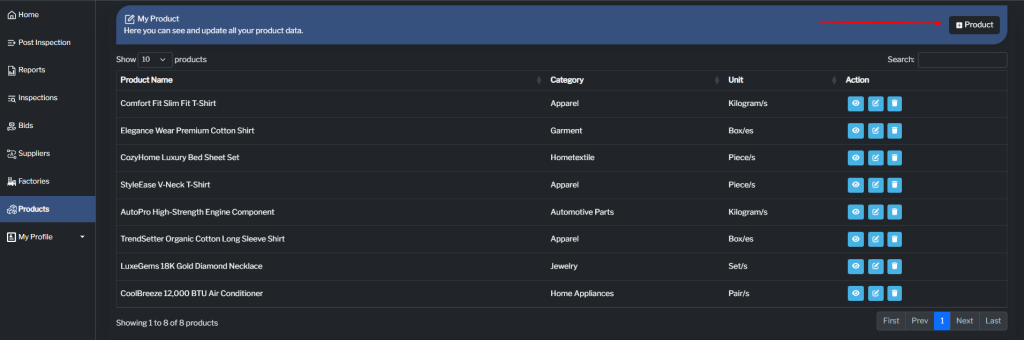
Step 1: Add Product
Click the “Add Product” button to include a new product for your inspection.
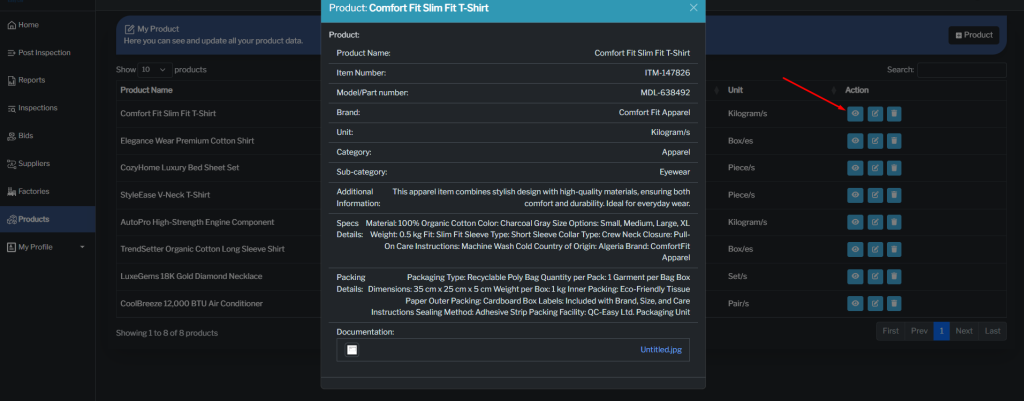
Step 2: View Product
Click the “View” button to see detailed information about the product.
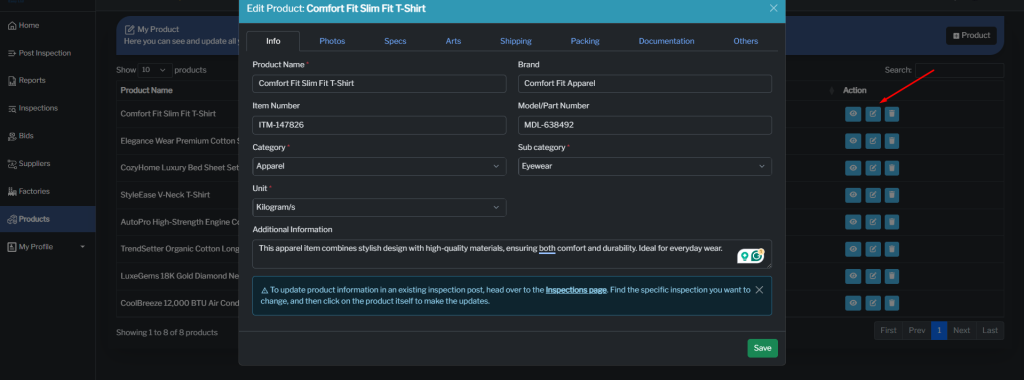
Step 3: Edit Product
Click the “Edit” button to modify the product’s details.
Step 4: Remove Product
Click the “Remove” button to remove the product from your list.
